
The Problem: Manual E-commerce bookkeeping is slow and error-prone
Bookkeeping is a major operational headache for online retailers. Manually tracking sales in Excel or QuickBooks is slow, confusing, and highly prone to costly financial errors. Instead of wasting hours wrestling with complex tax data and spreadsheet formulas, online store owners should spend their valuable time driving revenue and scaling brand growth.
Why top brands choose Klavena for automated e-commerce accounting
- CPA-Approved Accuracy: Our automated e-commerce bookkeeping software automatically maps multi-channel sales, sales taxes, refunds, and payout fees into perfectly reconciled QuickBooks Online summaries.
- Unified Multi-Channel View: Eliminate data silos with a single dashboard that standardizes financial data across all your marketplaces (including Shopify, Amazon, and eBay) for effortless performance comparison.
- Hands-Free Financial Automation: By replacing manual data entry entirely, our platform handles your daily automated bank reconciliation to make tax season completely stress-free.
- Smart Inventory Tracking & COGS: Seamlessly syncs multi-location inventory data to calculate your Cost of Goods Sold (COGS) automatically using the IRS-preferred FIFO inventory valuation method.
- Built to Scale: Enterprise-grade infrastructure seamlessly handles unlimited multi-channel order volumes as your digital brand expands.
- IRS-Compliant Accrual Accounting: Configures your digital books using the required accrual accounting method right from day one, ensuring strict compliance with GAAP standards.
How Klavena Works in 10 Steps
STEP 1: Sign in
To get started with Klavena, you'll need to sign in through Single Sign On (SSO) with either Intuit or Google.
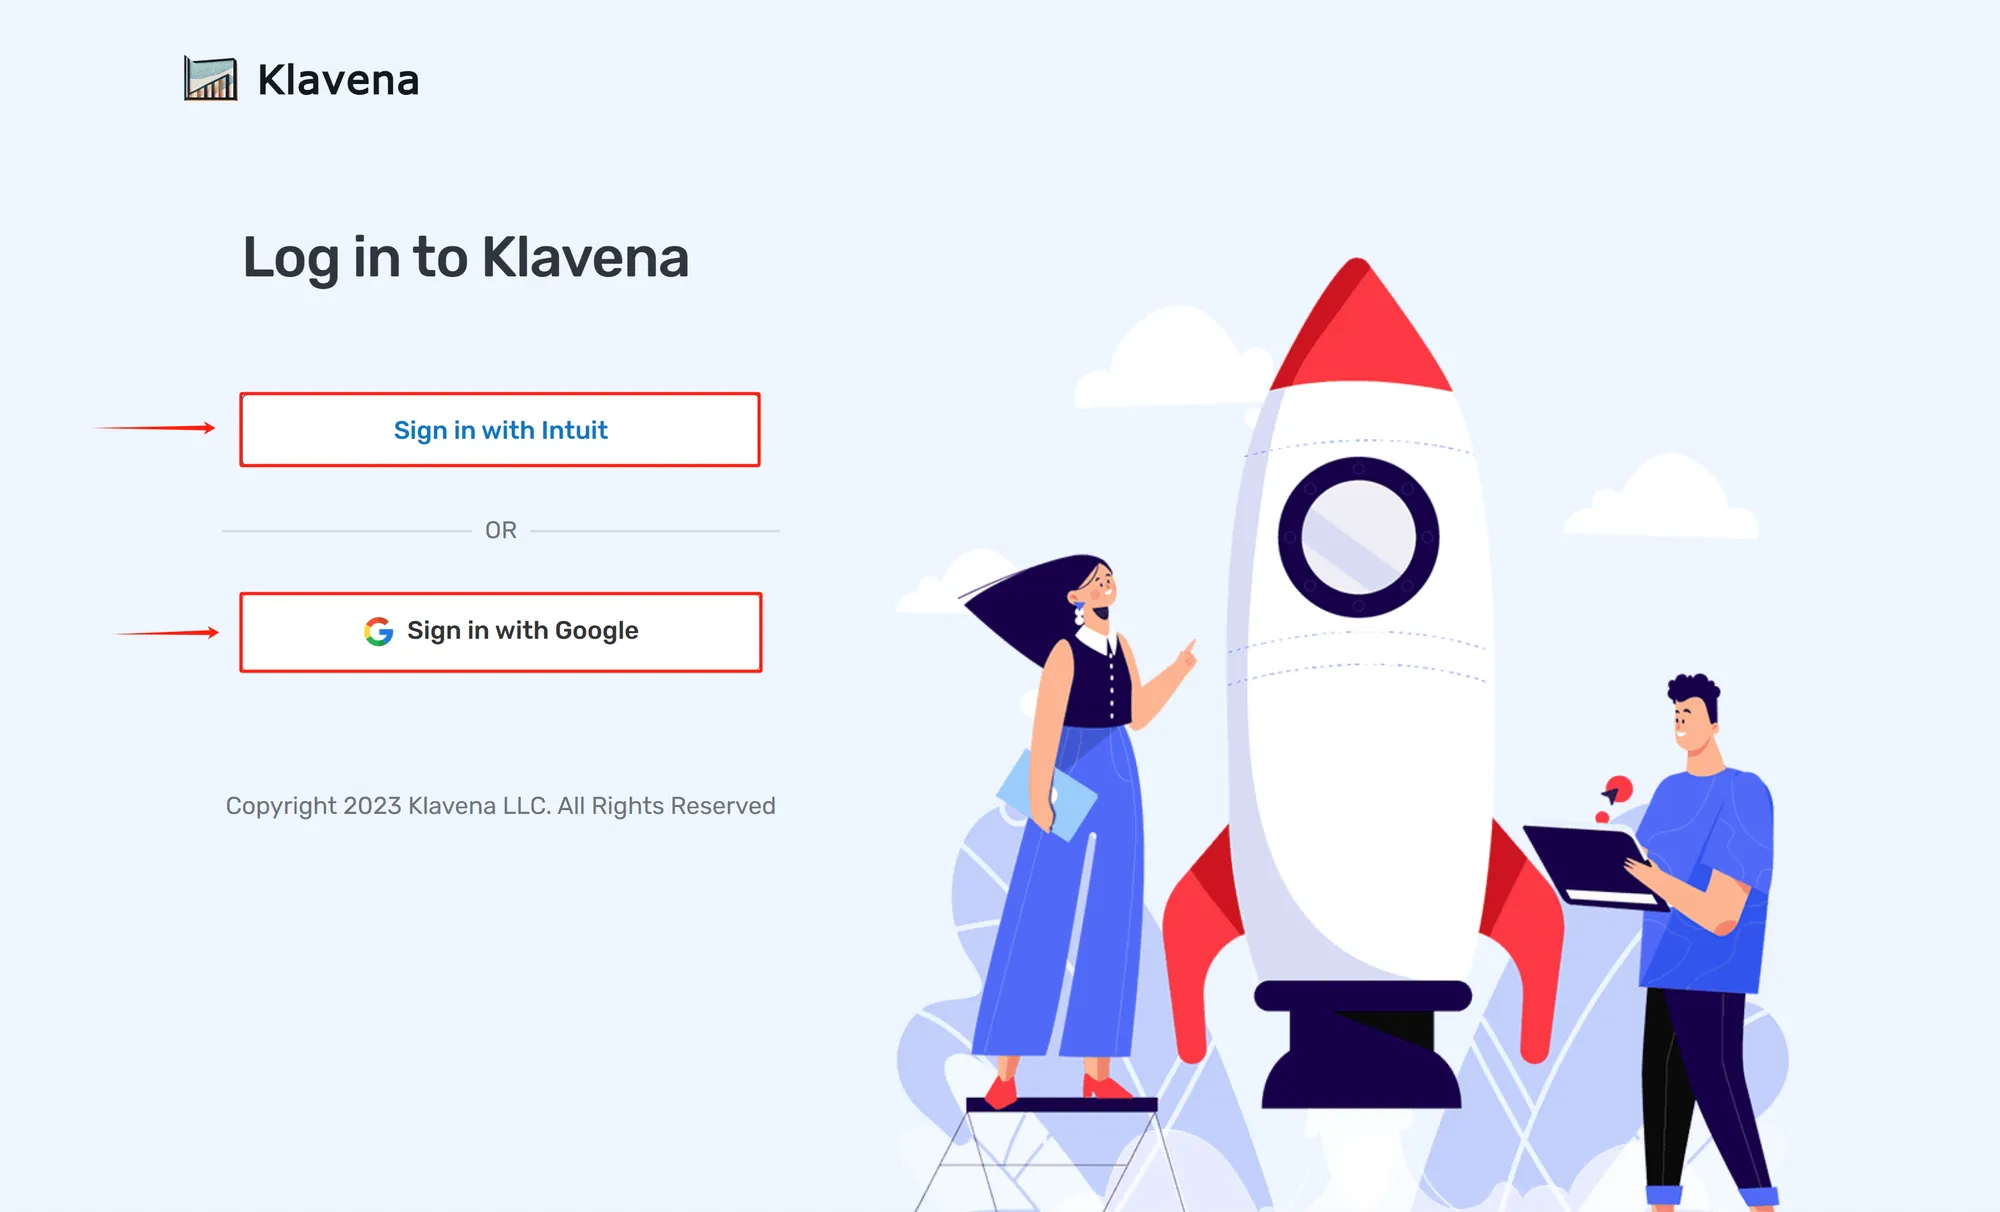
This will ask you for your respective Intuit or Google credentials and redirect you to the Klavena app.
- Does it matter which Sign in method I use? Intuit or Google?
No, you can use either as long as you’re consistent with future sign ins.
STEP 2: Select Sales Channel
Next, you will need to add your first integration before you can import data. Every integration comprises of a link between a sales channel and an accounting software.
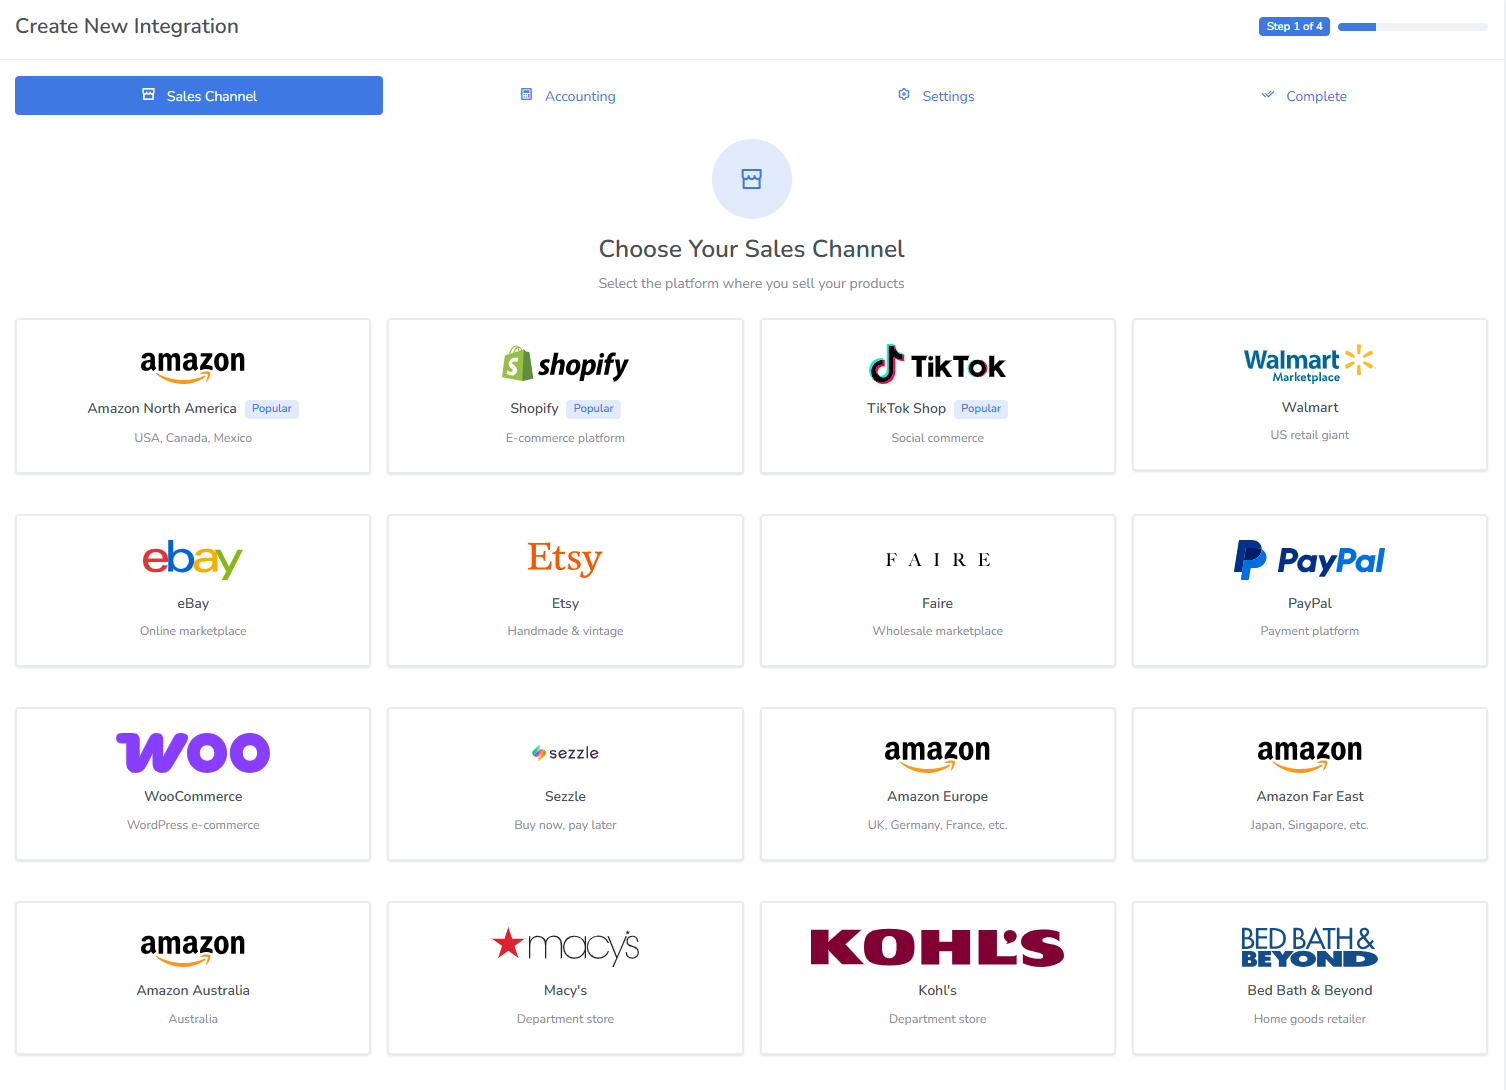
Klavena supports global channels including Amazon (all regions: North America, Europe, Far East, and Australia), Shopify, Walmart, PayPal, eBay, Etsy, TikTok, Faire, WooCommerce, Macys, Kohls, Bed Bath & Beyond, Sezzle.
STEP 3: Authorize Sales Channel
Depending on the sales channel, there will be a different authorization method to give permission for Klavena to access the sales channel's data. Below, we detail the methods for each sales channel:
OAuth redirect
For these sales channels, Klavena will redirect you to the sales channel's page to authorize permission.
- Amazon North America
- Amazon Europe
- Amazon Far East
- Amazon Australia
- Shopify
- Etsy
- eBay
- TikTok
- Faire
API Key
With the API Key authorization method, you will need to login to the sales channel backend, find the API Key in your settings, and copy/paste into Klavena's integration wizard.
- PayPal - How to Find Your PayPal API Keys
- Walmart - How to Find Your Walmart Marketplace API Keys
- WooCommerce - How to Find Your WooCommerce API Keys
- Sezzle - How to Find Your Sezzle API Keys
- Macys - How to Find Your Macy’s Marketplace API Key
- Kohls - How to Find Your Kohl’s Marketplace API Key
- Bed Bath & Beyond - How to Find Your Bed Bath & Beyond Marketplace API Key
For Shopify and WooCommerce, you'll need to enter information about your store.
- Shopify - How to Find Your Shopify Shop Name
- WooCommerce - How to Find Your WooCommerce Store URL
STEP 4: Select Accounting Software
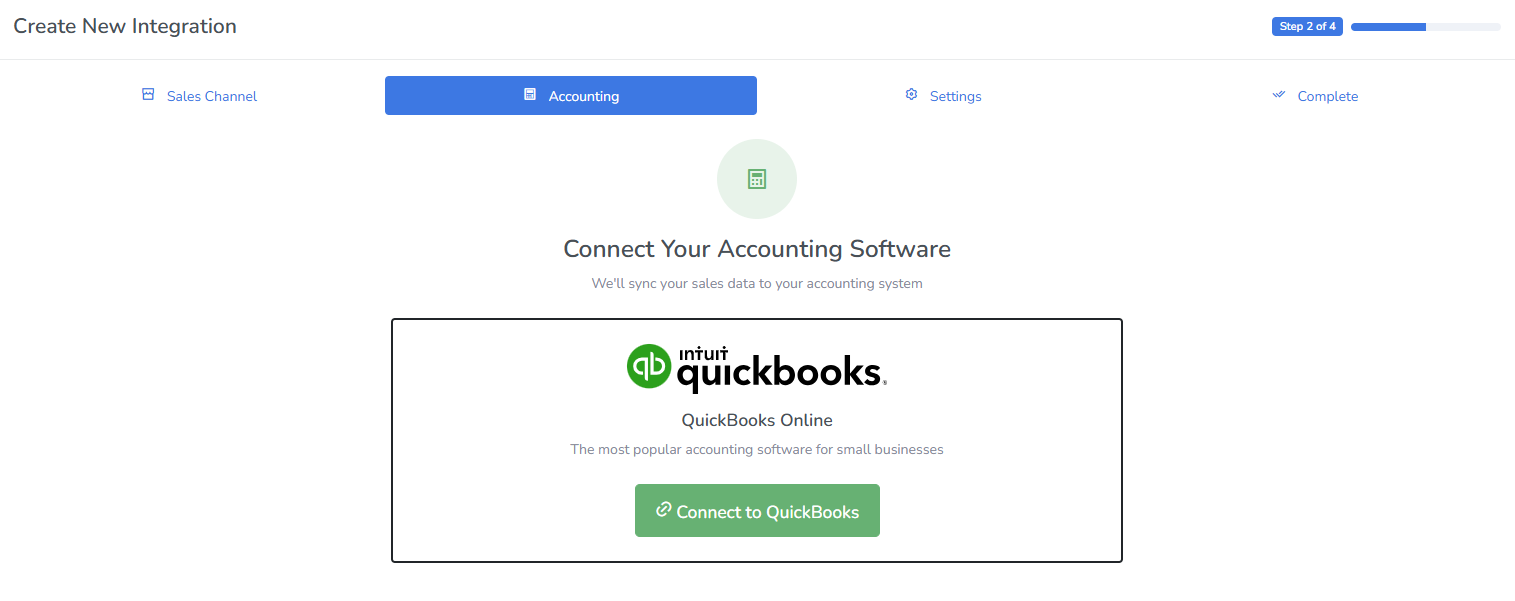
Authorize Accounting Software
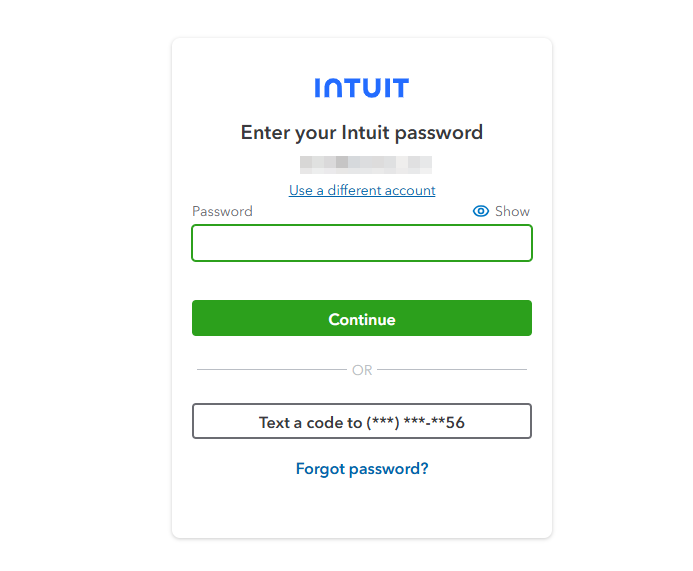
Then, click Continue and Authorize
STEP 5: Settings
Keep the recommended settings, Bank Transfer Reconciliation is to match your bank deposits, and auto import is that future settlements will be imported automatically.
Choose the QuickBooks account that corresponds to the bank account where your sales channel deposits funds. If you haven't set up that bank account yet, you can always do it later! Simply uncheck Bank Transfer Reconciliation for now.
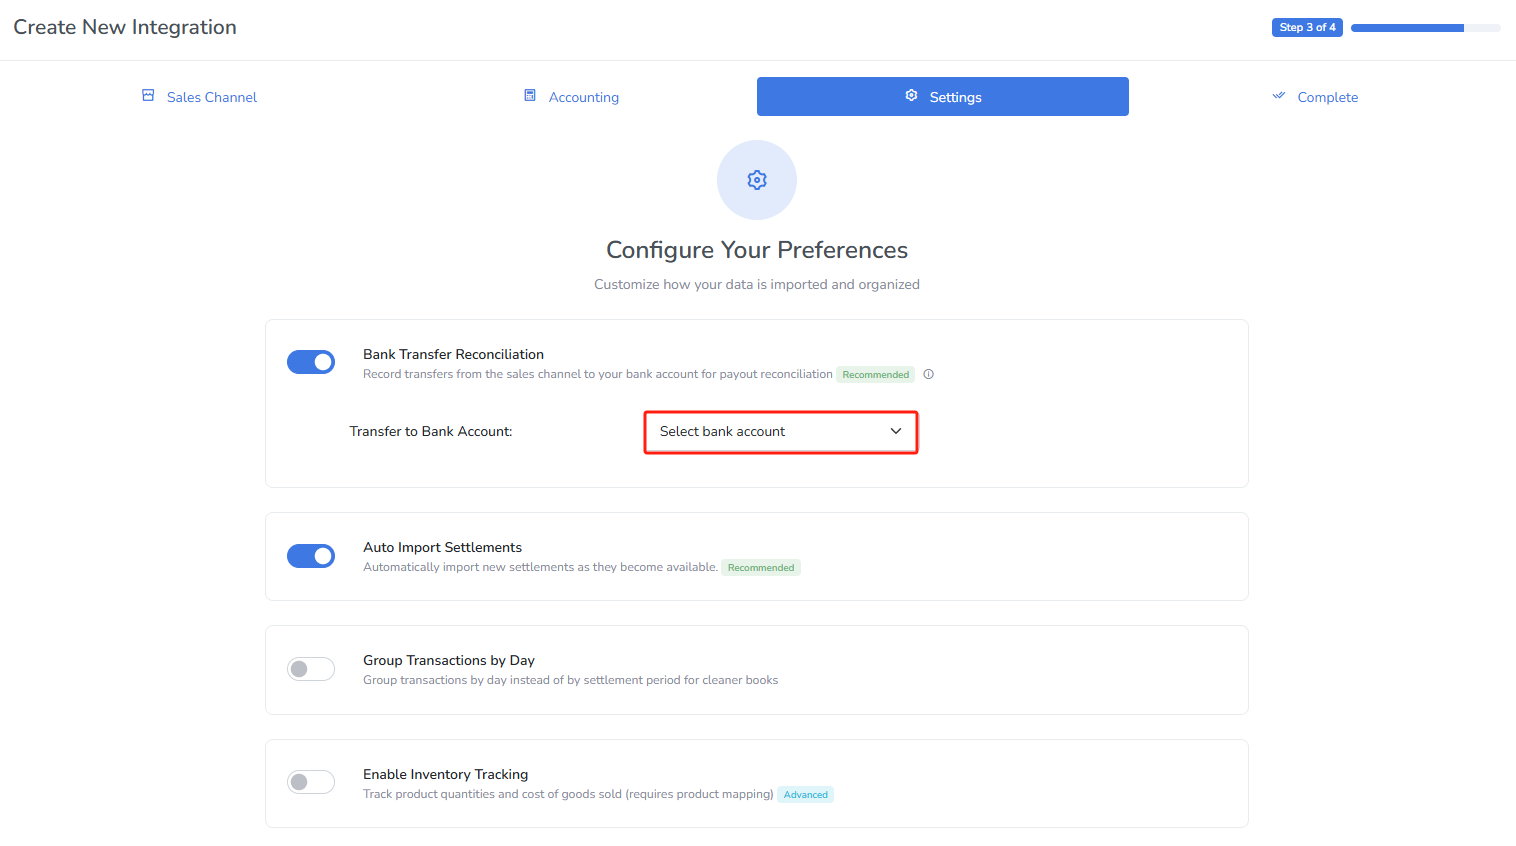
Inventory tracking is an advanced feature that helps you automatically calculate cost of goods sold (COGS). It requires some additional setup. You can find the inventory tracking at the bottom of this page.
STEP 6: Finish Creating New Integration
This screen appears when your integration is completed successfully. We'll fetch some sales data in the background and set up your QuickBooks to ready for import.
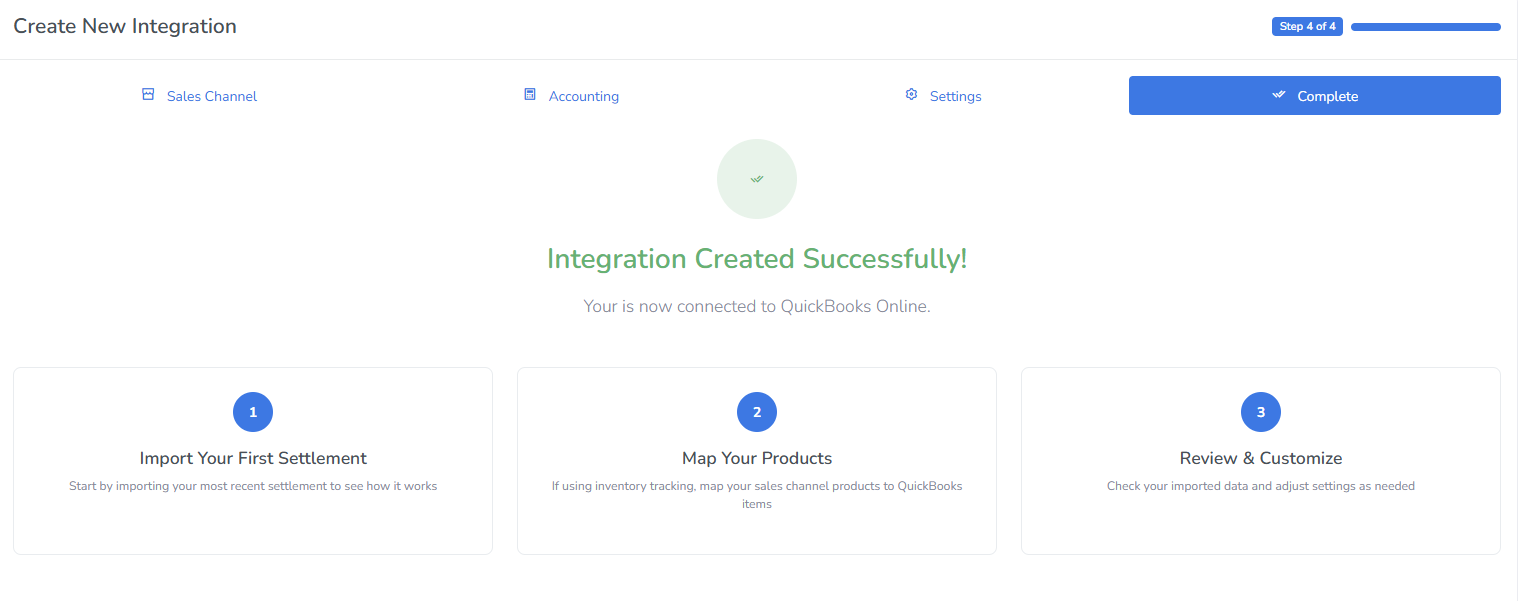
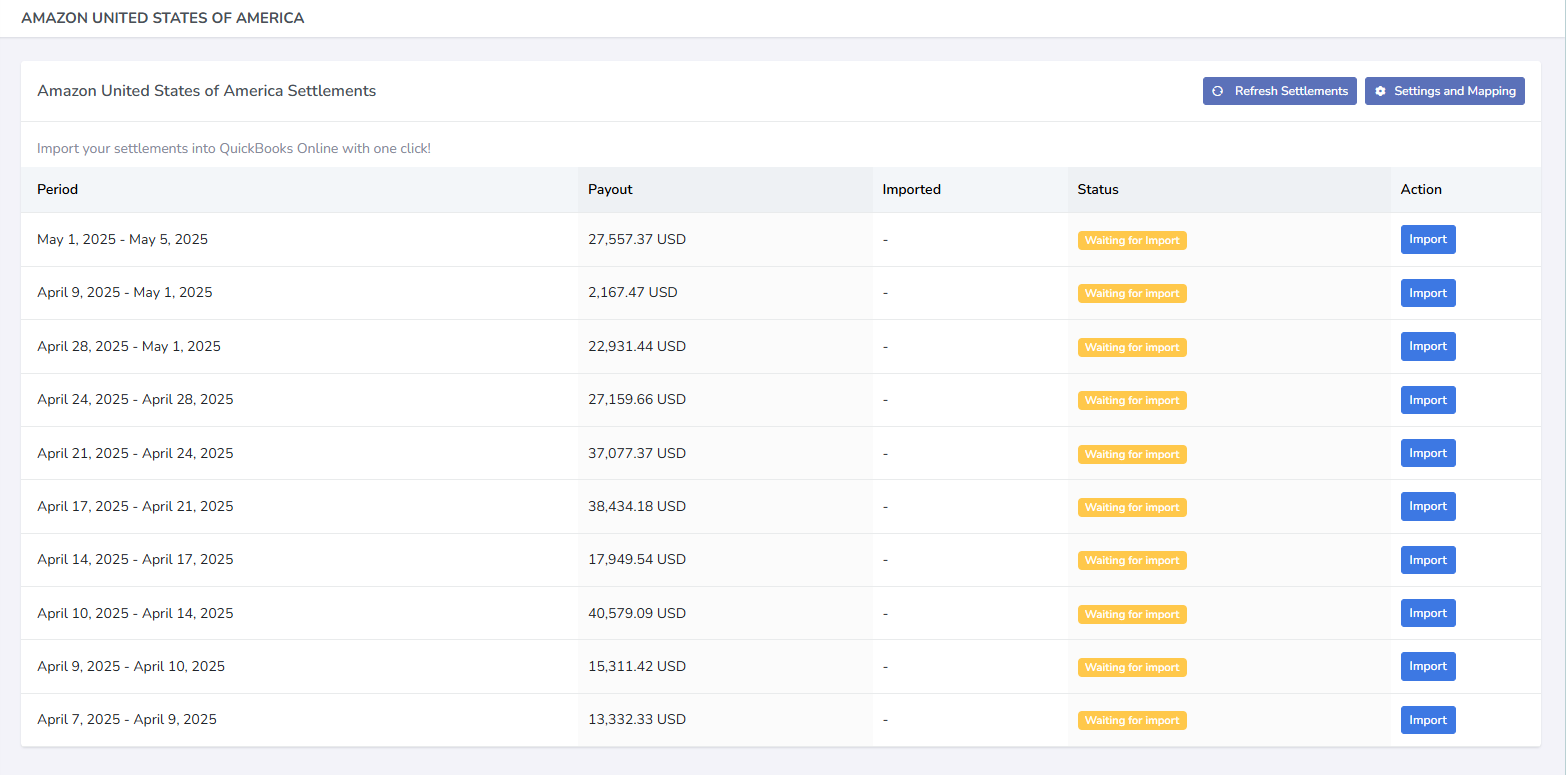
After a few seconds, it should redirect the settlements page, where you see all your settlements or payouts!
Common Errors
- Error creating QuickBooks Online account: Business Validation Error: Multi Currency should be enabled to perform this operation How to Fix the Multi-Currency Business Validation Error in QuickBooks Online
- The Amazon API limits how many settlements you are allowed to download at a time. Please try again in 15 minutes. Amazon Settlement Download Limit: “Please Try Again in 15 Minutes”
- Troubleshooting & FAQs
STEP 7: Import Settlement
After you have created the new integration, it should redirect you to the integration's page, where you can see all of the settlements that are available to import.
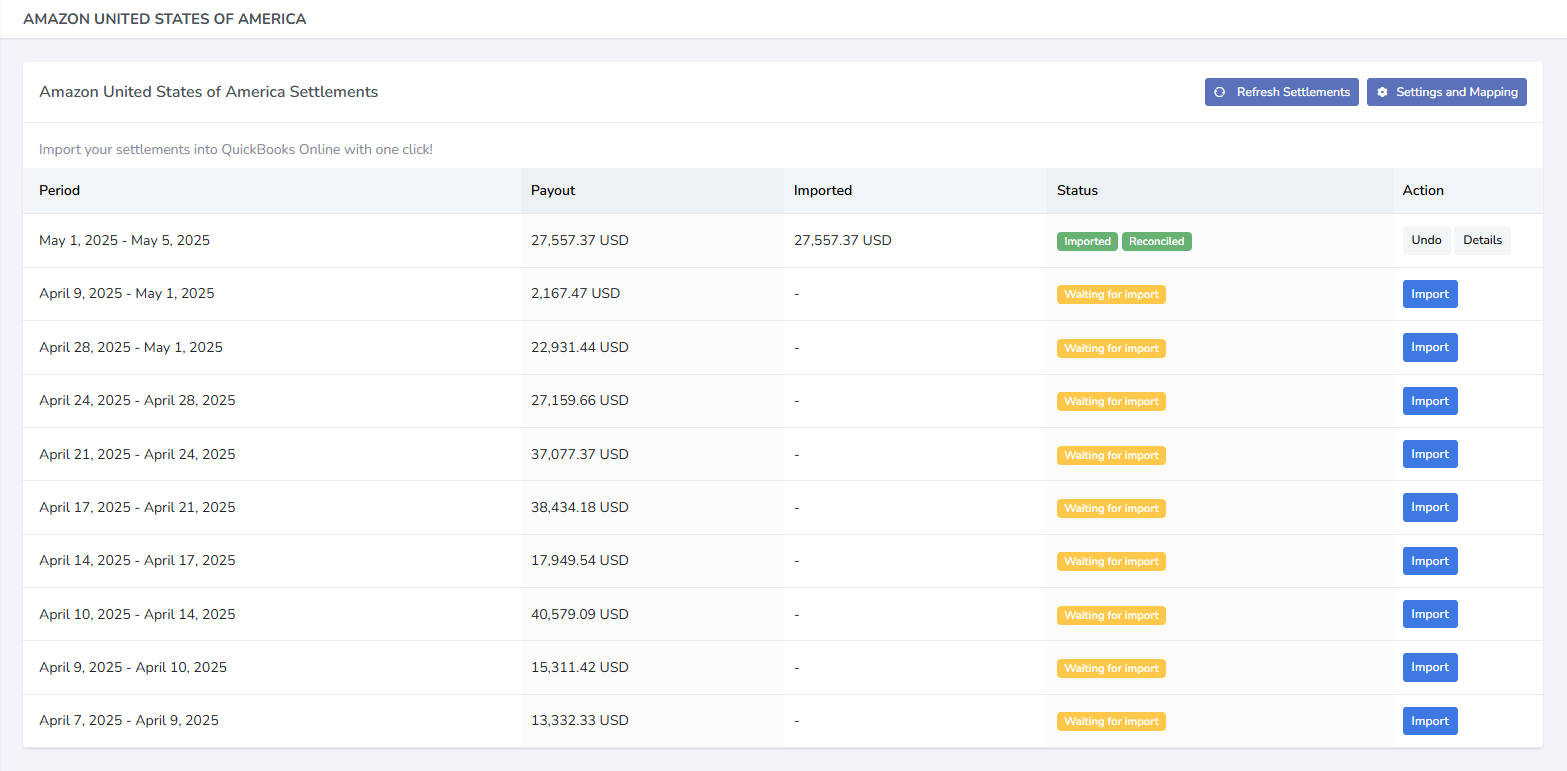
You can click on import settlement button to import the settlement into QuickBooks Online.
STEP 8: Bank Transaction Reconciliation
In the previous page, you clicked on import settlement button to import the settlement into QuickBooks Online. After it is imported, you can go ahead and reconcile this settlement by matching it within bank transactions in QuickBooks Online
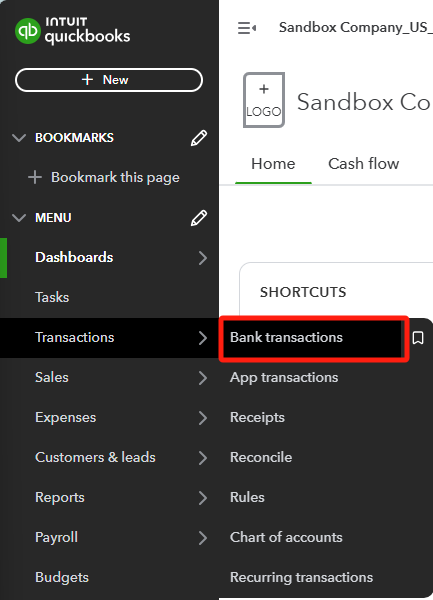
Navigate to Bank Transactions
STEP 9: Match the Deposit
Under bank transactions, find the deposit from Amazon. It should be the same amount as the line in Klavena that you imported and click Match!

STEP 10: Verify that it's categorized

100% Reconciliation
Recall that this is the line that we imported. The imported amount matches the deposit amount in QuickBooks!

Congratulations!
You've linked your first sales channel to QuickBooks Online and imported and reconciled your first settlement.